Proxy Server
Proxy Server appears only in Advanced Mode: Global Settings.
The calls to retrieve, update, and test proxy settings can be found under Control Center > Proxy Server in the HYPR Passwordless API collection.
Admins can configure proxy settings within the HYPR Control Center; they are part of the Global Settings that impact every Relying Party (RP) created via the Control Center. The only traffic that goes through the proxy is the Firebase PUSH. Consequently, the proxy settings only affect out-of-band (OOB) authentication.
Proxy settings are needed only if the server does not directly access the Firebase service. To setup Firebase for use with HYPR, see Configuring Push Notifications via FireBase.
Adding Proxy Server Details
-
In the left navigation pane under Global Settings, click Proxy Server.
-
In the Proxy Server dialog, click Add Proxy Server.

-
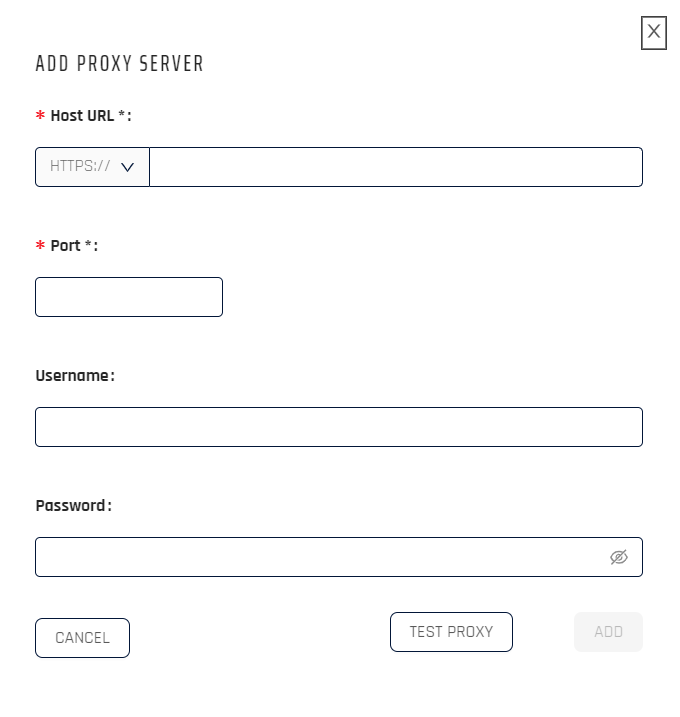
In the Add Proxy Server dialog, enter the proxy server details.

-
After adding the details, click Test Proxy to check the connectivity between the HYPR Control Center and the proxy server.
-
After adding the proxy settings, the Host URL and Port will be listed in the main pane, and the Add Proxy Server button will be greyed out.
- To edit the settings, click the pencil icon.
- To delete the entry, click the trash can icon

This is an outbound proxy used to communicate to PUSH services for OOB communication, defined as notification services.