Configuring Push Notifications via FireBase
Configuring Push Notifications via FireBase is available only in Advanced Mode.
Follow these integration steps to facilitate out-of-band (OOB) authentication with Firebase push notifications. This only applies to Web (not Workstation) Applications in Control Center.
Create a Firebase Project
-
Sign up for Firebase if you haven't already.
-
Go to the Firebase console and login.
-
Create a project and open it; or open an existing project. If you are making a new project, give it a name and choose whether or not to link it to Google Analytics.
To create a new project:
-
Click the Create a project tile.
-
Name your project, then click Continue.
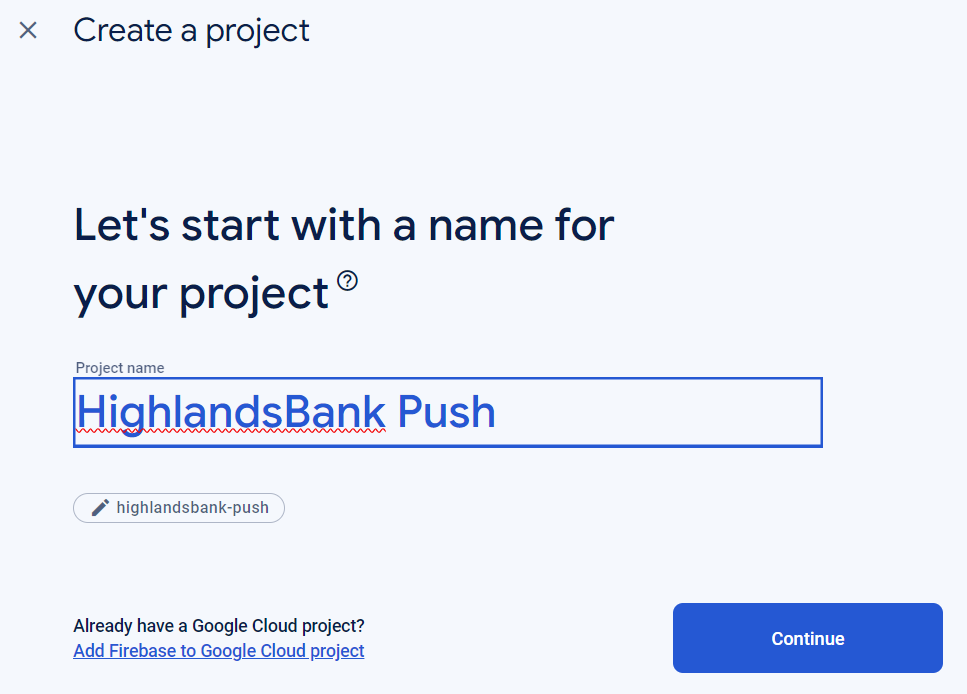
-
If you want the site to use Google Analytics, toggle Enable Google Analytics for this project, then click Continue.
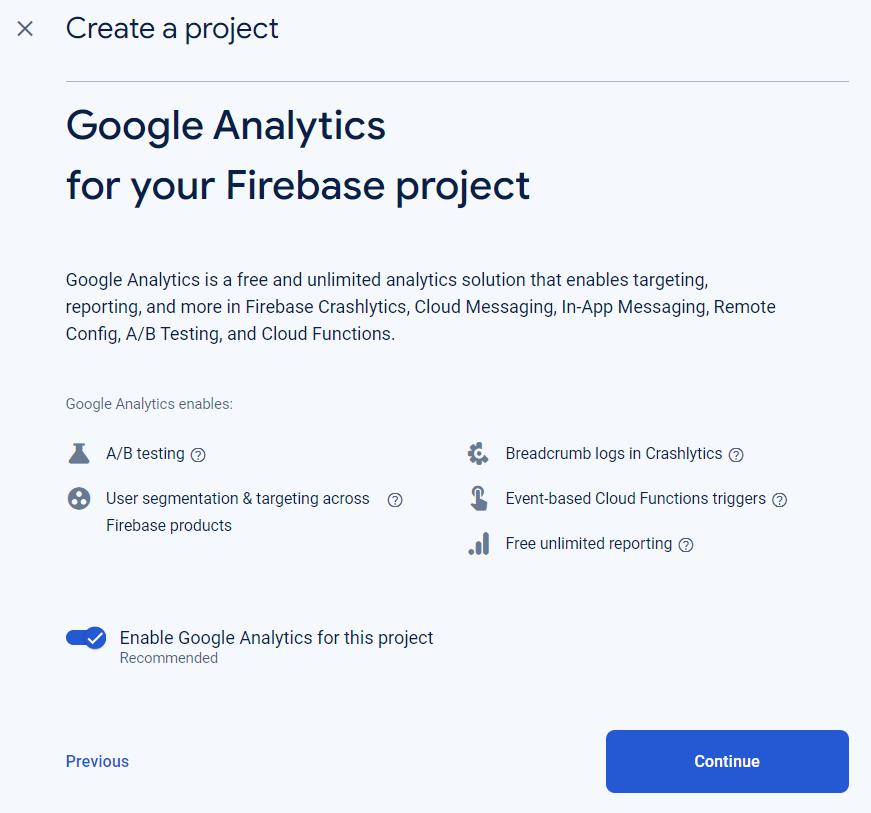
-
Configure Analytics with a location and any other options you prefer, then accept the terms. Click Create project when you are satisfied with your choices.
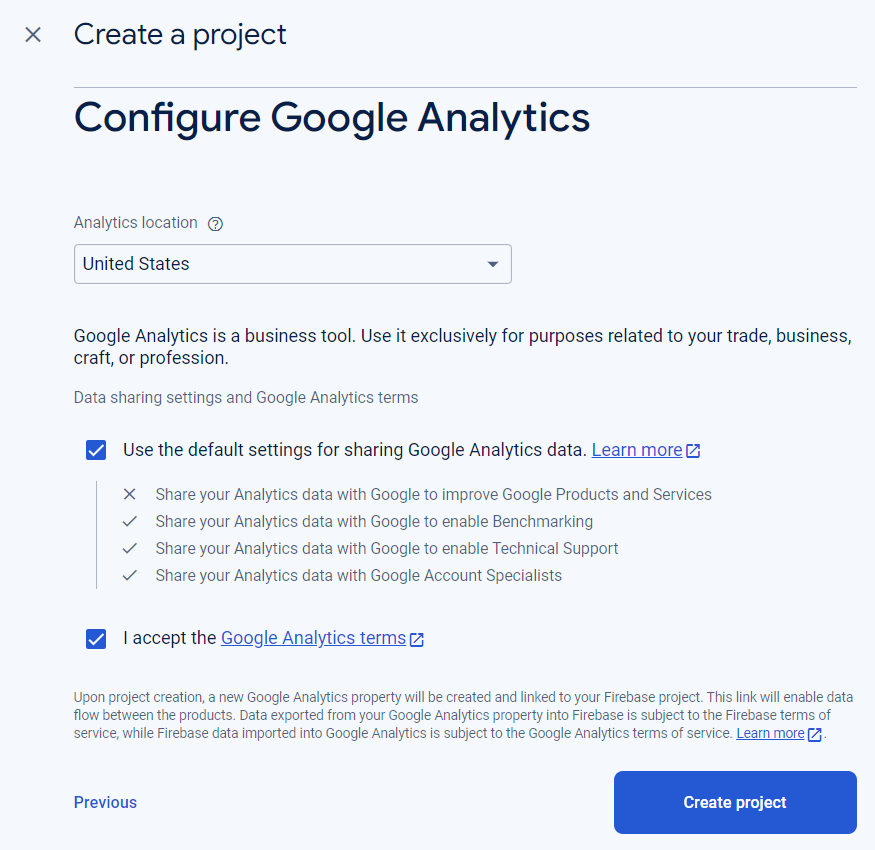
-
-
Firebase opens your project overview page. Hover on Project Overview and select Project settings. Note the Project ID and Project number for later.

-
Click the Service accounts tab. Verify the format is correct for your environment, then click Generate new private key.
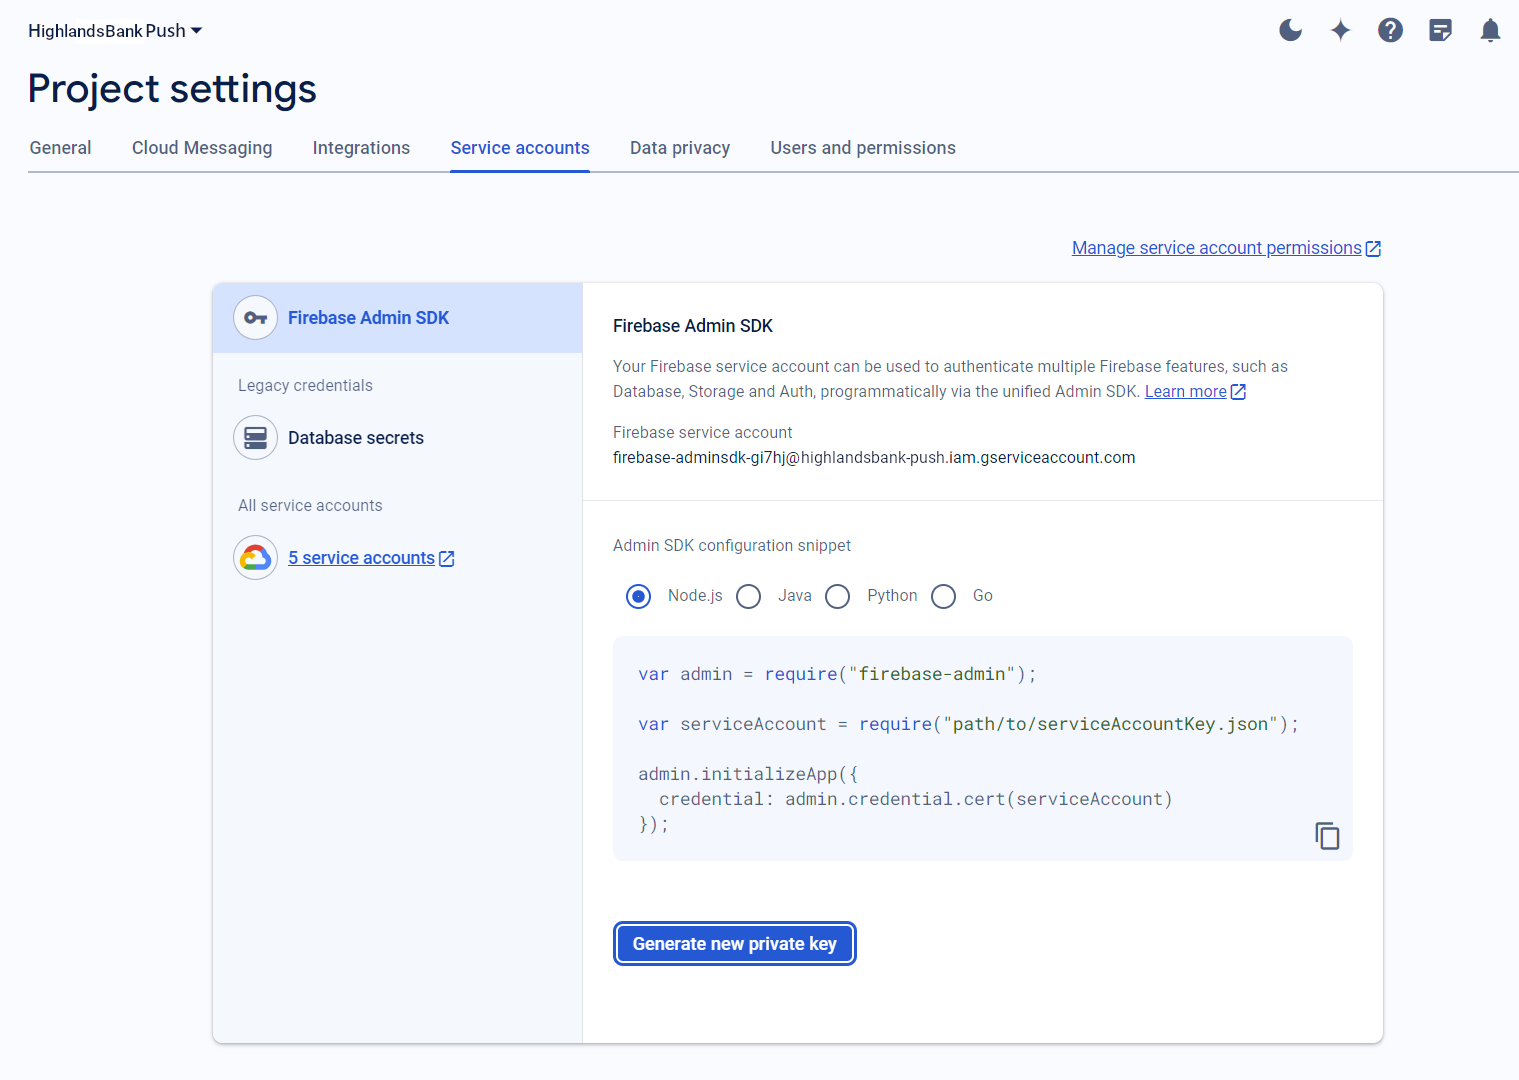
-
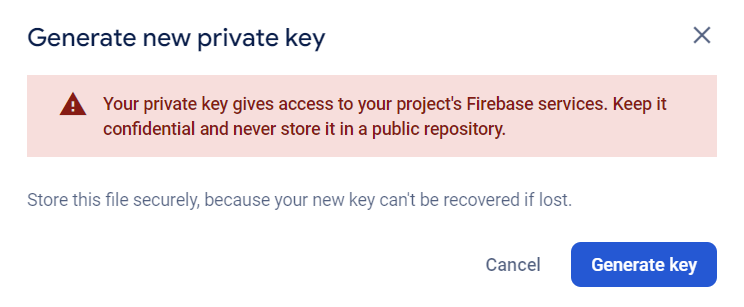
A confirmation dialog displays. Click Generate key to download the resulting JSON file.
The file will be similar to this example:
Private Key JSON{
"type": "service_account",
"project_id": "highlandsbank-push",
"private_key_id": "a0c037404d8e3813a539f219876ce6ff453c5143",
"private_key": "-----BEGIN PRIVATE KEY-----\nMIIEvQIB...<a very long string>...2QJV0xeg=\n-----END PRIVATE KEY-----\n",
"client_email": "firebase-adminsdk-gi7hj@highlandsbank-push.iam.gserviceaccount.com",
"client_id": "113144873404623430004",
"auth_uri": "https://accounts.google.com/o/oauth2/auth",
"token_uri": "https://oauth2.googleapis.com/token",
"auth_provider_x509_cert_url": "https://www.googleapis.com/oauth2/v1/certs",
"client_x509_cert_url": "https://www.googleapis.com/robot/v1/metadata/x509/firebase-adminsdk-gi7hj%40highlandsbank-push.iam.gserviceaccount.com",
"universe_domain": "googleapis.com"
}
Firebase limits private keys to 10 per application.
(On-premises Only) Create the Service Account
Generate a new service account specific to your environment.
-
Open the HYPR One (
hypr-oneor equivalent) project in the Google Cloud Platform (GCP), select IAM & Admin, then select IAM in the left navigation menu.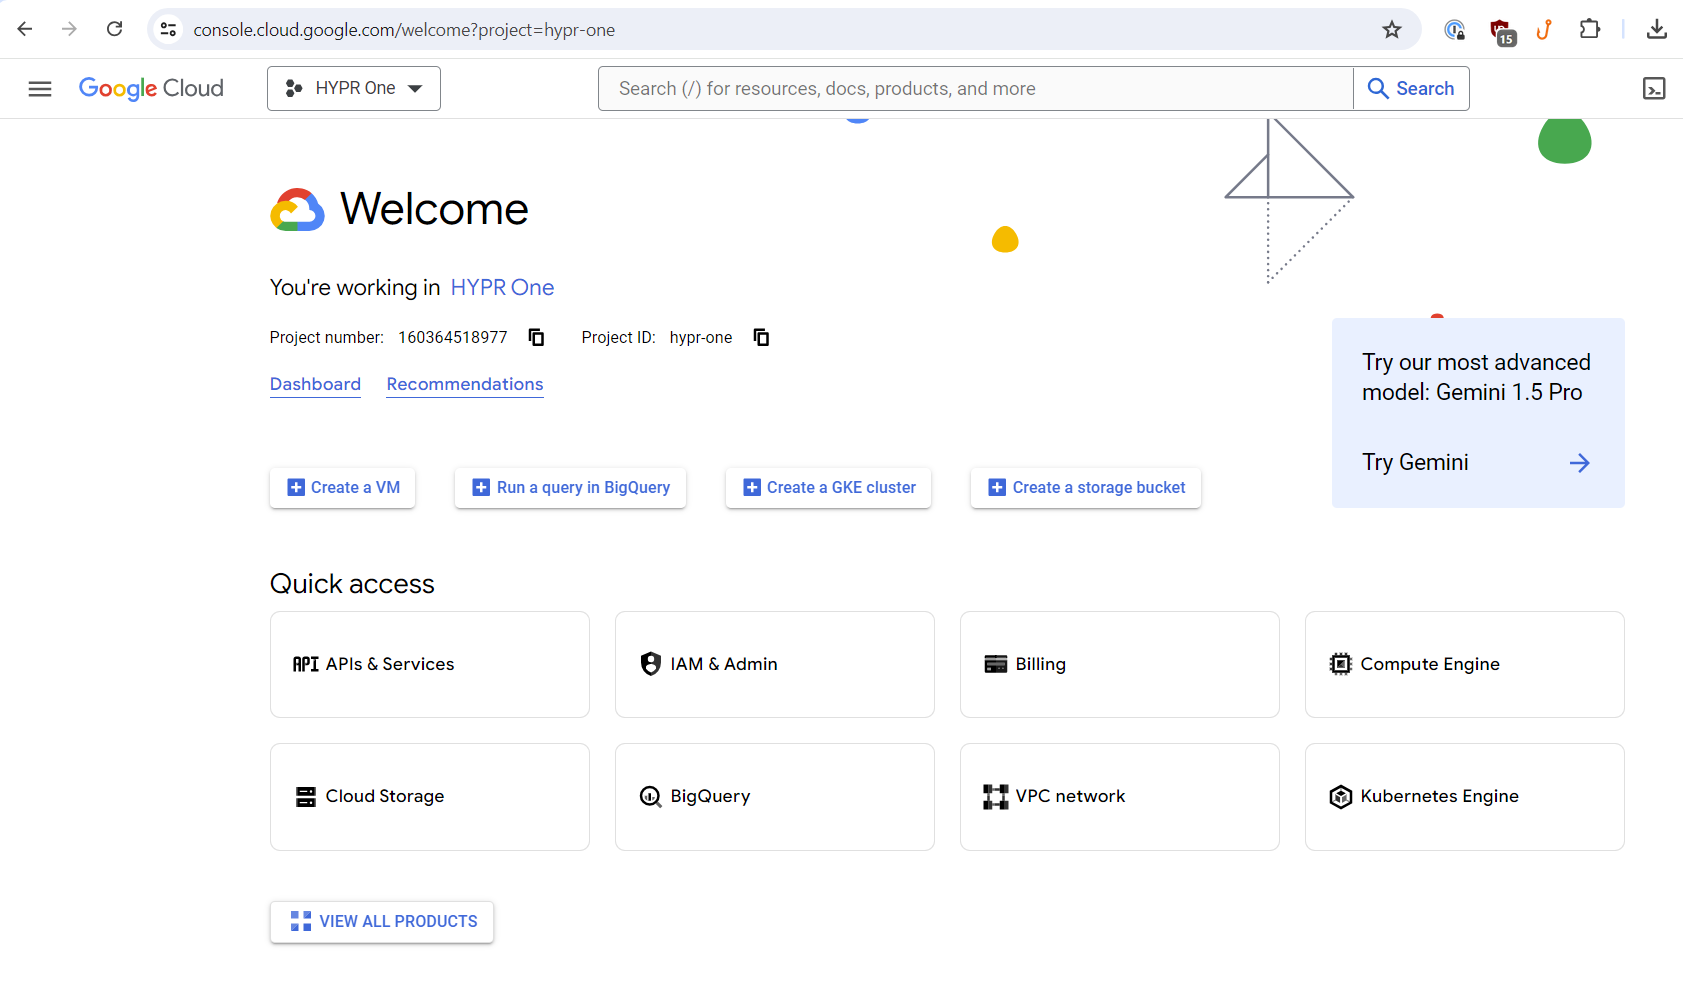
-
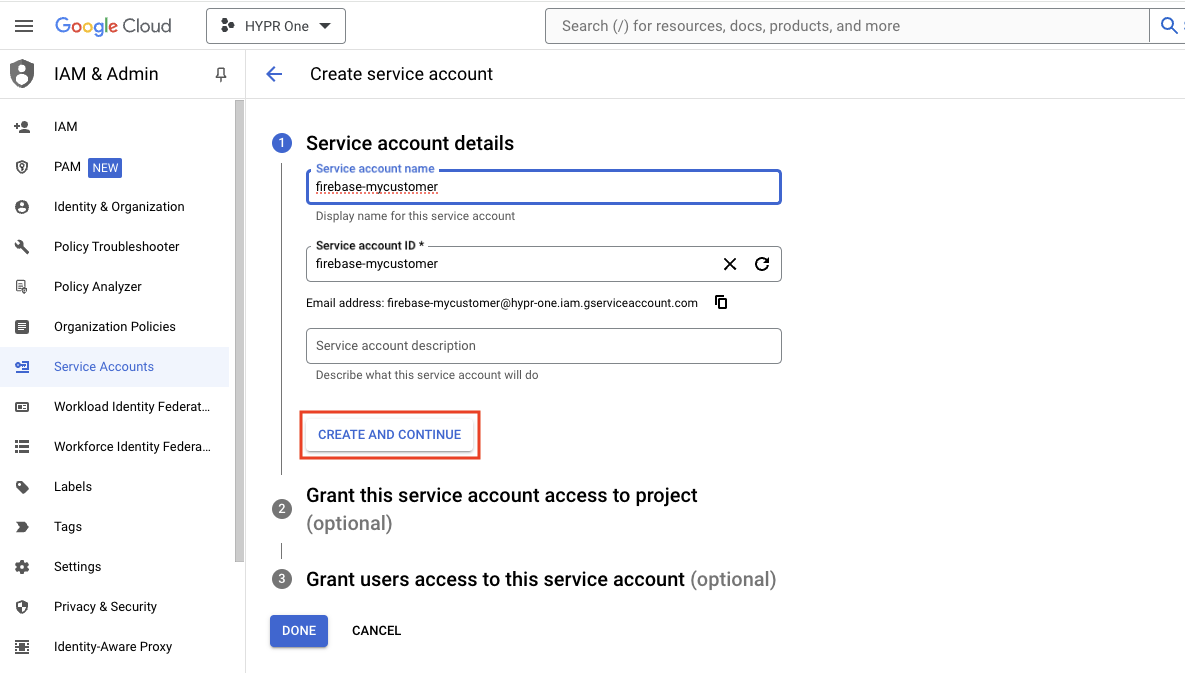
Click Create service account and complete the Service account details. Name the account firebase-[org_name].

-
When you are satisfied with the account details, click CREATE AND CONTINUE.
-
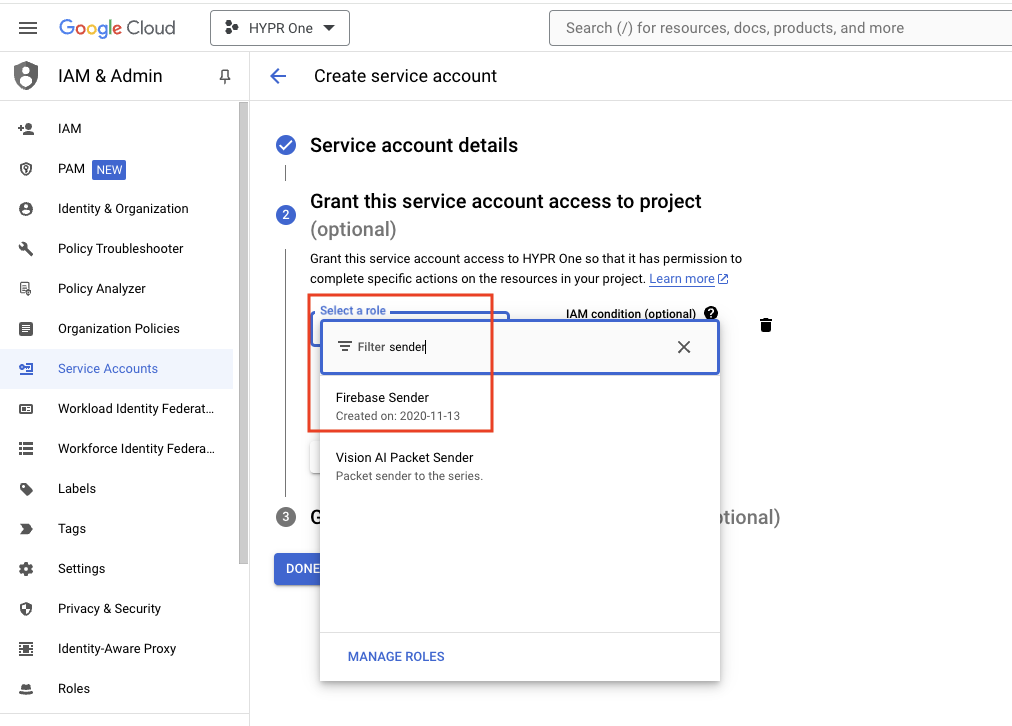
Find the following roles using the search bar. No other roles or permissions should be added.
-
Firebase Sender - Used to send push notifications
-
Firebase Dynamic Links Admin - Used to create dynamic short links
-
Service Account Token Creator - For using OAuth2 in SDK calls
When you are finished, click DONE.
-
-
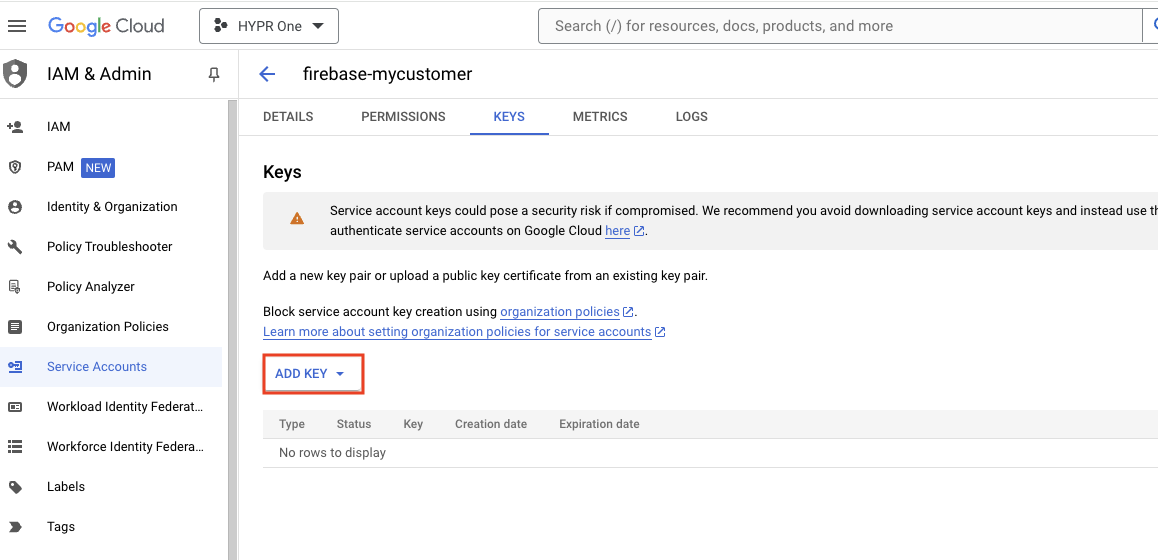
Drill into the account you just created; then select the KEYS tab.
-
Create an API key for that service account by clicking ADD KEY.
-
Select the type of key you wish to create, then click CREATE.

-
GCP shows you the name of the file and downloads the resulting file locally. Store the key value somewhere safe. Click CLOSE when you are done.

Configure Control Center (CC) for Push Notifications
HYPR Control Center comes equipped with a default Firebase Push Notification installed. If you wish to use a different Firebase application to manage Push Noticfications, follow the steps here.
-
Login to HYPR Control Center in Advanced Mode.
-
In the left menu, select the Application that is using the Firebase project you opened above.
-
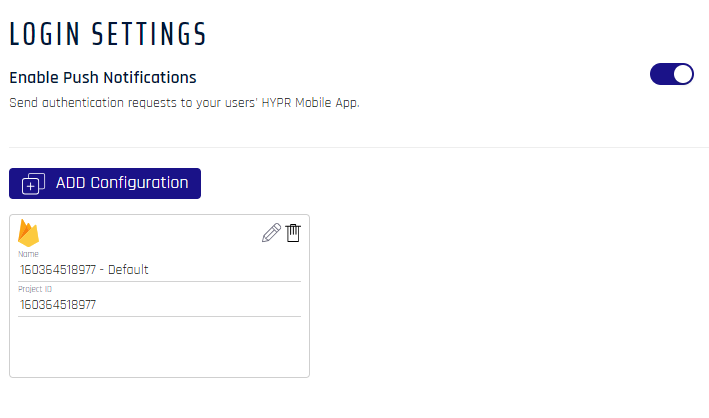
In the left navigation pane, under Advanced Config, click Login Settings.
-
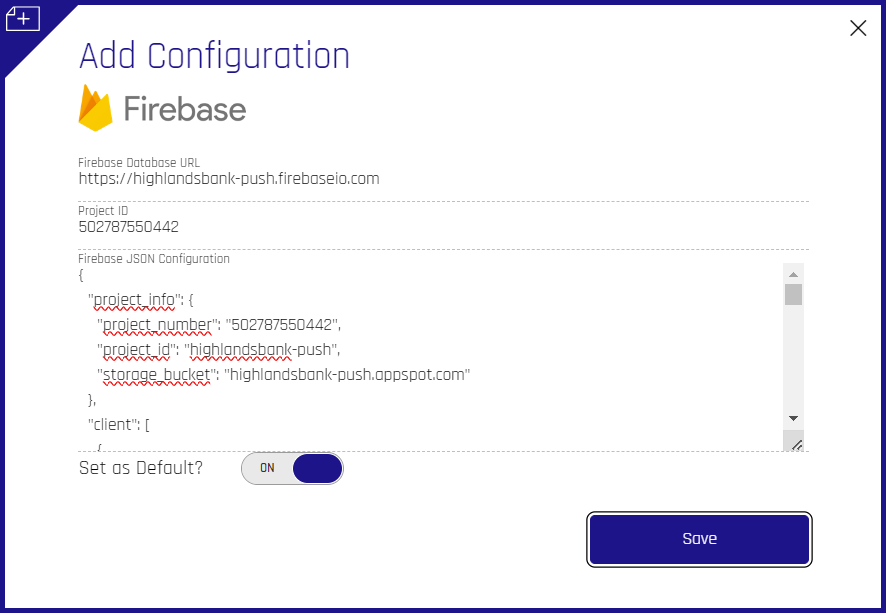
Notice the default configuration is shown here. Click ADD Configuration to create a new configuration. A dialog opens. Complete the fields as follows:
-
Firebase Databse URL: Substitute the Firebase ID you noted earlier for {name-of-your-firebase-application}; in this example it is highlandsbank-push
-
Project ID: Add the Project ID you noted earlier
-
Firebase JSON Configuration: Paste the JSON generated by the Firebase project
-
Set as Default?: Toggle this on if you wish this to be the default Firebase Push configuration
-
Click Save when you are satisified with the entered values
-
-
A confirmation appears, stating, "Push Provider Successfully Added!" Close it using the X in the upper right, and CC returns to Login Settings.
-
The Login Settings pane now shows the new Firebase tile beside the existing one.
Managing Push Providers
To edit a provider tile, click the pencil icon at the top right of the tile. This will open the configuration dialog, as described in Configure Control Center (CC) for Push Notifications.
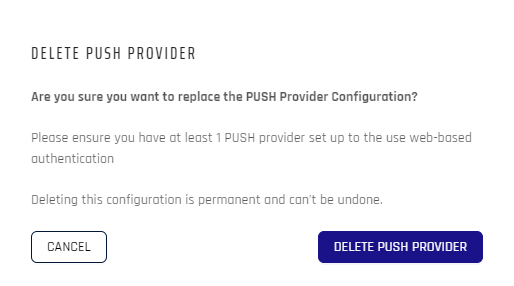
To remove a provider tile, click the trash can icon at the top right of the tile. Clear the confirmation by clicking DELETE PUSH PROVIDER.
Confirming Firebase SDK Is in Use
Change the logging level to DEBUG by adding the following entry to Vault:
logging.level.com.hypr.server.pushmsg.service.firebase=debug
Trigger a push message to see the following in Control Center's logs. Note the FirebaseSDKMessagingService.
DEBUG 2024-03-24 17:59:50,689 http-nio-8009-exec-2 [a1646b1d13f52270,a1646b1d13f52270][/login][1] FirebaseSDKMessagingService.send(90) : FCM message has been sent: projects/hypr-one/messages/0:1711317590724225%2a35a298f9fd7ecd