Creating RP Applications
Adding RP Applications is available only in Advanced Mode.
In Standard Mode, HYPR RP applications are automatically created when a new Integration is made, and will be available in the Advanced Mode applications list in the navigation menu.
The calls to perform CRUD operations for RP applications can be found under RP Applications > Application Properties in the HYPR Passwordless API collection.
The relying party (RP) is your service, composed of a backend server and a frontend application. It is required to create an Application and enter the information during workstation client registration. HYPR CC Application information gets propagated from the server to the workstation during QR code generation as well.
Complete the following steps to create a new Application in Control Center:
-
Click Add Application on the left navigation panel of the Control Center dashboard.

-
The Add Application dialog box appears. Select Web or Workstation as appropriate for the decentralized channel. If you choose Workstation, skip to Step 8.
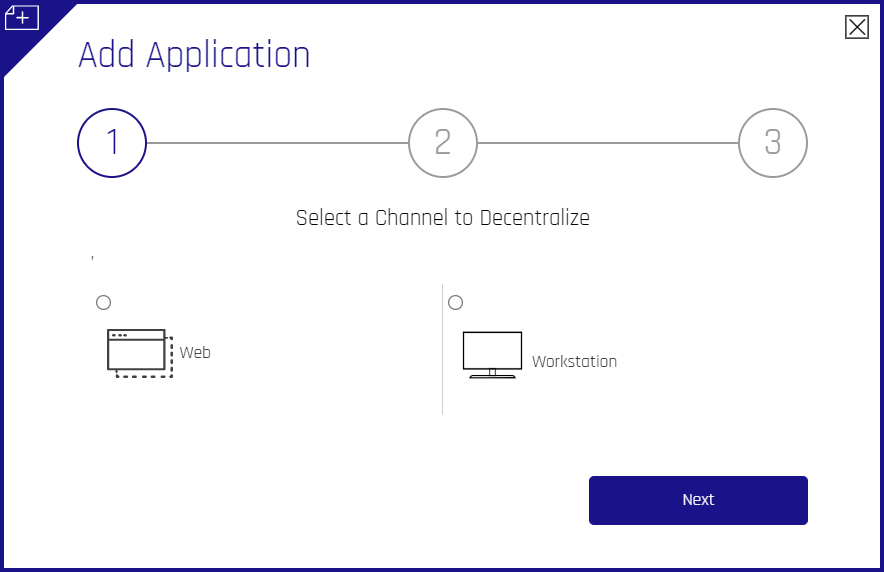
-
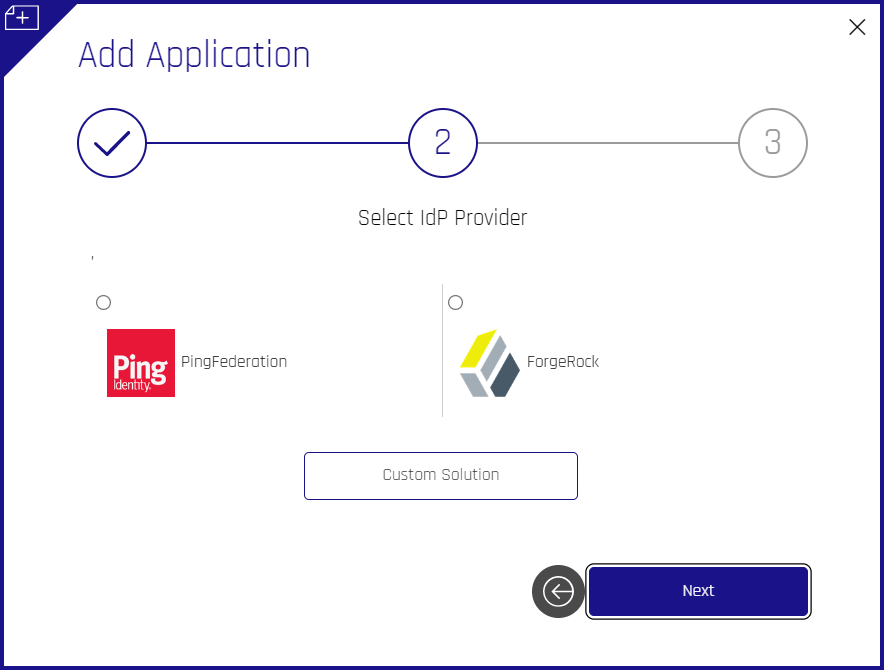
Web Only: Identify whether or not an IdP will be utilized for the application. If so, choose one. Click Next. Clicking Custom Solution will also take you to the next screen.
-
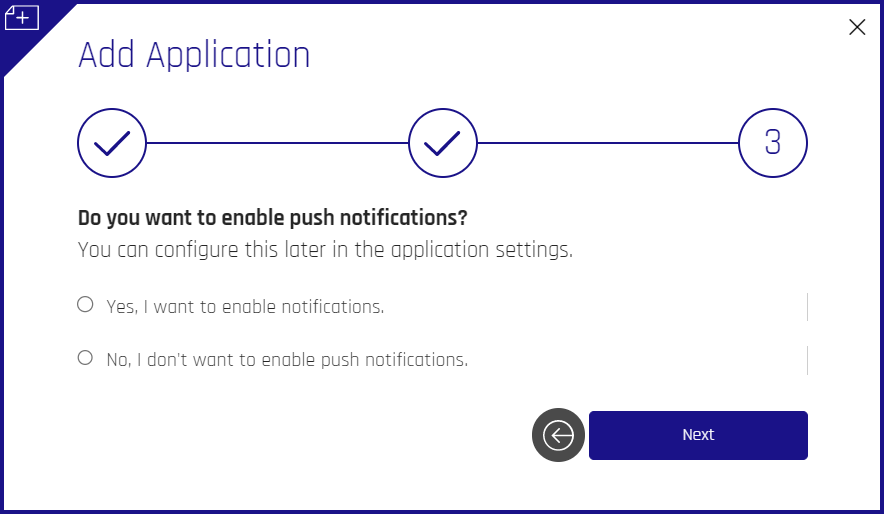
Web Only: Choose whether or not the Application will use Push notifications. Clicking Yes will require you to enter Firebase connection information.
Firebase Info NeededIf you want to use Push Notifications, and have not enabled Push notifications for the Control Center, follow the steps in Configuring Push Notifications via Firebase to obtain the Project ID and API Key values before clicking Yes, I want to enable notifications.
-
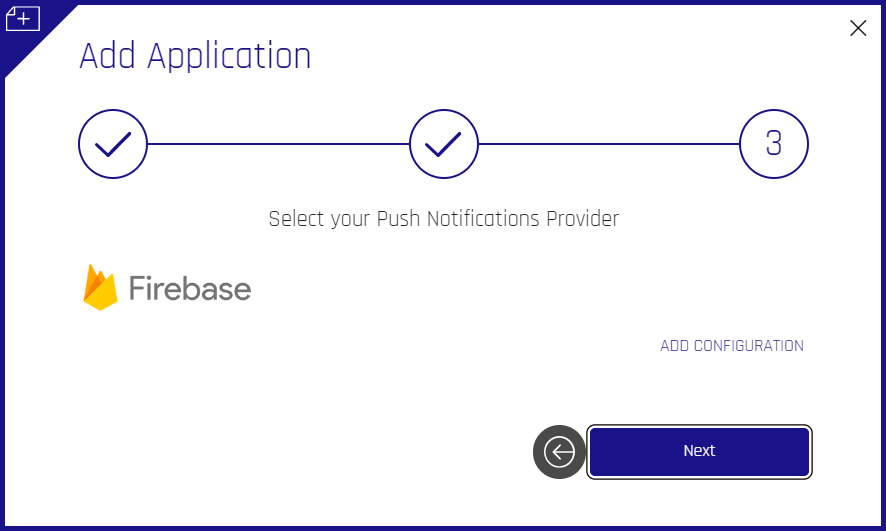
Web Only: Click ADD CONFIGURATION.
-
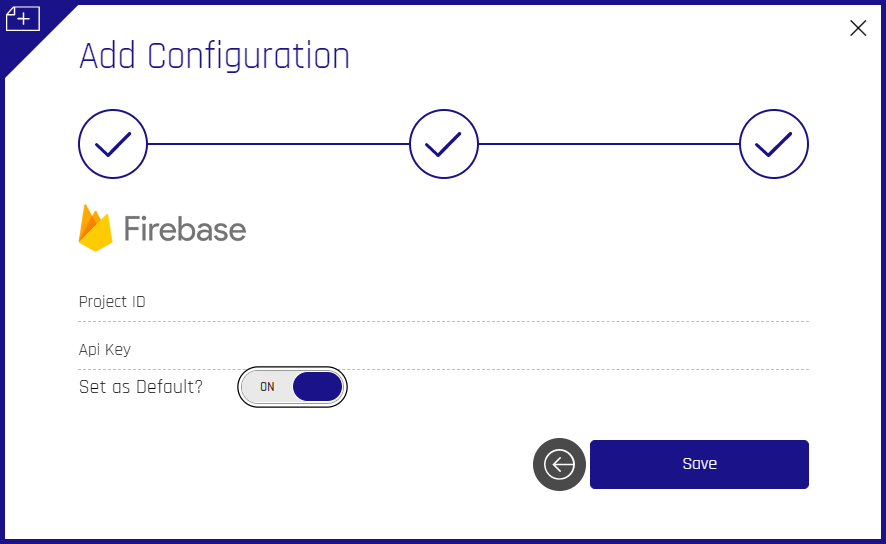
Web Only: Enter the Firebase ID and API Key, and choose whether or not this will be the default Push notification method (if it is the only one, it will be the default regardless). Click Save.
-
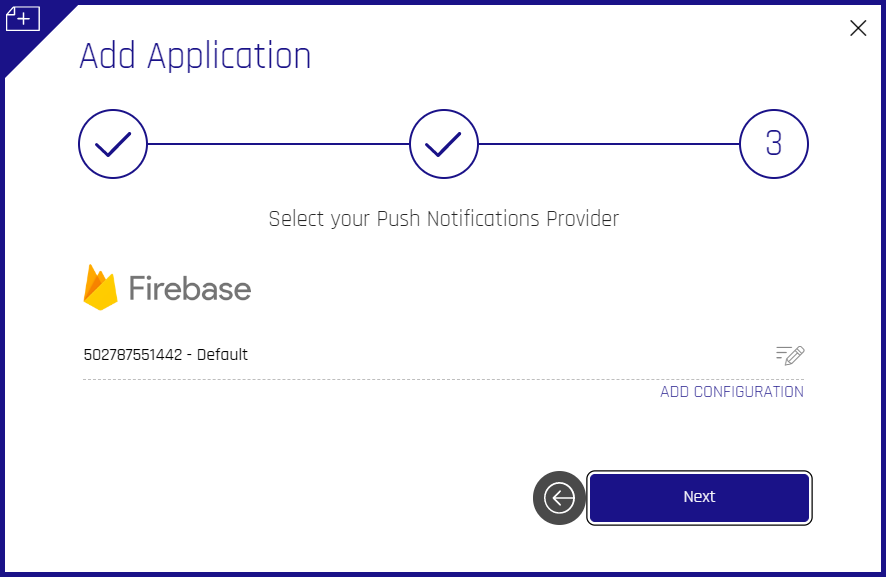
Web Only: Your Firebase Project ID will now appear in the dialog.
-
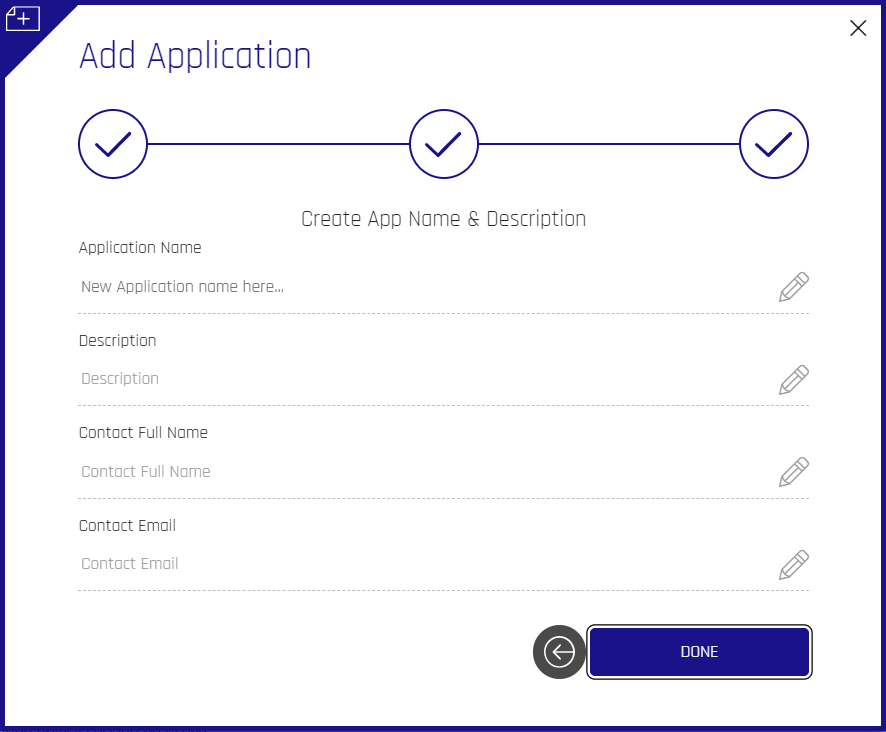
Name your Application and complete the fields presented.
-
When completed, click DONE.
While an Application is selected, the header of the Control Center main pane will be the Application Name that you set here.
Updating Applications
Updating RP Application meta values Name, Description, Contact Full Name, and Contact Email is only possible in Advanced Mode.
To make changes to a selected RP Application, click the gear in the upper right of Control Center. The Application properties display.
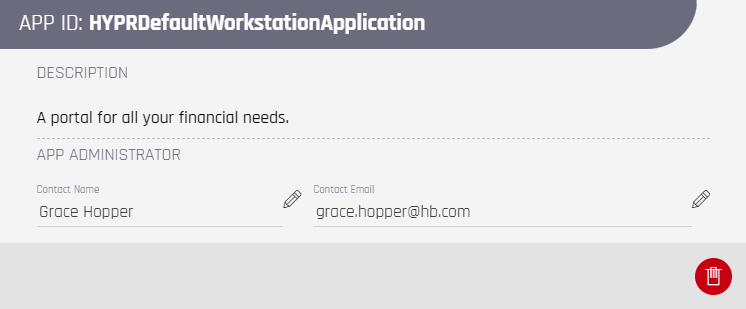
Click one of the pencil icons to edit any of the displayed values. The Edit Application dialog displays.
Once an application is created, the rpAppId (APP ID in the image above) value will be set and cannot be changed. To change what the user sees, alter the Application Name value.
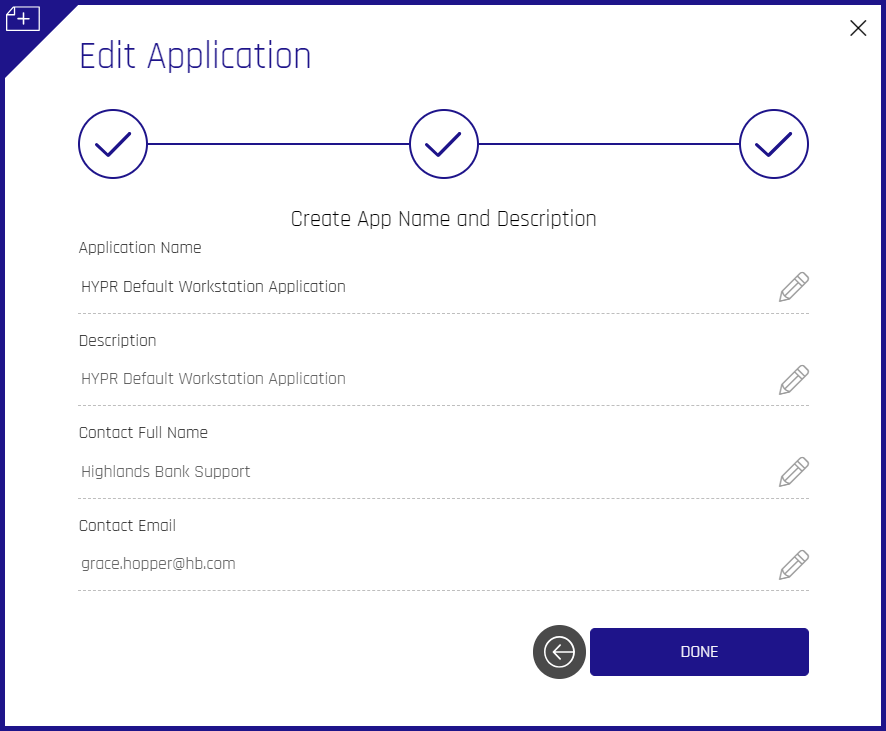
Make any necessary changes, then click Done when you are satisfied.