Login Settings
Login Settings appear in multiple places:
-
In Advanced Mode: Advanced Config for the Application selected under Choose an App
-
In Standard Mode: Integrations for the selected integration; in this case, Login Settings will only show Workstation SSO and HYPR Adapt Settings from the list below, and otherwise displays FIDO2 Settings and Generic Enterprise Passkey Settings
Open the Login Settings page to manage Firebase push notifications, HYPRspeed, QR code authentication, and logs user submission from inside the Application.
Login Settings can be administered using the following API calls:
- Get login settings:
GET /cc/api/appconfig/push - Save login settings:
PUT /cc/api/appconfig/push
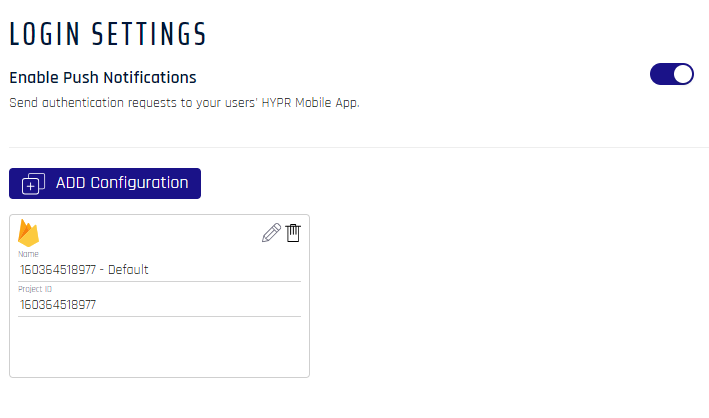
Enable Push Notifications
HYPR uses Firebase as a push notification provider for its Web Applications.
Click Add Configuration to configure Firebase to work with your HYPR web Applications; see Configuring Push Notifications via FireBase.
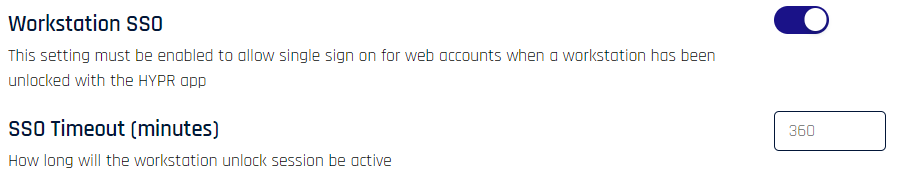
Workstation SSO
HYPRspeed/Desktop SSO is enabled by toggling the Workstation SSO (Advanced Mode Application Advanced Config Menu: Login Settings) or Enable Desktop SSO (Standard Mode Integrations: Login Settings) feature. Be sure to set the SSO Timeout (minutes) to the desired limit. If left unchanged, the default is 360 (6 hours).
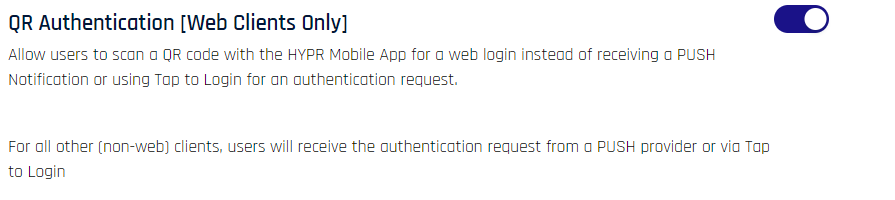
QR Authentication (Web Clients Only)
Allow users to scan a QR code with the HYPR Mobile App for a web login instead of receiving a push notification or using Tap to Login for an authentication request.
For all other (non-web) clients, users will receive the authentication request from a push provider or via Tap to Login.
Allow Manual QR Entry: Admins
If a HYPR Mobile App user is unable, unwilling, or otherwise prohibited from using the device's onboard camera to complete a QR code registration (pairing) or authentication (login), this toggle enables a link on the user's QR dialog that will initiate Manual QR Entry, a.k.a. QR Fallback.

In-App Logs Submission
HYPR log submission can be configured to be emailed to the HYPR Support Team to assist with troubleshooting. See Contact Support for more information.
-
If In-App Logs Submission is enabled, users will be able to directly generate an email to the configured address just by clicking Send on the Contact Support dialog
-
If In-App Logs Submission is disabled and the email address is provided, clicking Send on the Contact Support dialog will open the default email client and use the provided email address
-
If In-App Logs Submission is disabled and the email address is left empty, the user will be required to provide an address to the email client and send the email

HYPR Adapt Settings
Policies can also be assigned in Standard Mode under the HYPR Adapt Policy Configuration Tab, by clicking '+ Policy Assignment'.
Add policies to the application (including integration RP Apps) here. See Risk Policy Management for details on policy assignment.
